Preparing and coordinating a photoshoot can be quite a challenge. There are many factors that go into making great photos, some of which can fortunately be prepared in advance! How do you do it? Read about how we handle it.
Where to start? Familiarize yourself with the topic well!
Properly familiarizing yourself with the topic of the session is the key to success. Thanks to this, it is easier to get inspired, and consequently, the work is more efficient and faster. If you know what you will be working with, you can also prepare in advance for any difficulties that may arise during the session. Before you start developing the concept, check exactly what the session will be about, what people or products will be in it, read the descriptions, see what they look like, check where the photos will be published.
The next step could be to create a preliminary catalog of associations, which will make it easier to find inspiration later. Think about: how can you approach this topic, what kind of atmosphere do you want to achieve, what impression should it make, how to combine it and how to put it together? At this stage, it's worth working as a team and doing some brainstorming :)
Action - inspiration
Let's get down to gathering inspiration! This is definitely the most enjoyable part of the whole process. Pinterest is the best place to explore a topic. It's a mine of inspiration, and when you've collected a few pins in a style that you like, it will suggest similar images. Use the catalog of associations that you created in the previous step - type keywords into the Pinterest search engine and look for that "something" :)
If the session will consist of photos of several different products or topics, create a separate board for each of them - this will make navigation easier, and Pinterest will display more relevant suggestions. Save content on them not only directly related to the topic or products, but also that which inspires you in some way - maybe it will be a frame, maybe a color, or maybe a lighting setting? To make sure you don't miss anything, it is worth using the individual notes option, which can be added to each pin. All you need to do is sign each pin appropriately at the search stage, and you will avoid later, when finally browsing through inspirations, wondering "what did I mean here?"

Contact with photographer
Once you have gathered your inspiration, create a moodboard – a compilation of photos that reflect the mood of the session. Send it to the photographer, let them assess your capabilities with a professional eye – thanks to this, they will select the right equipment and prepare for work.
Plan your staff
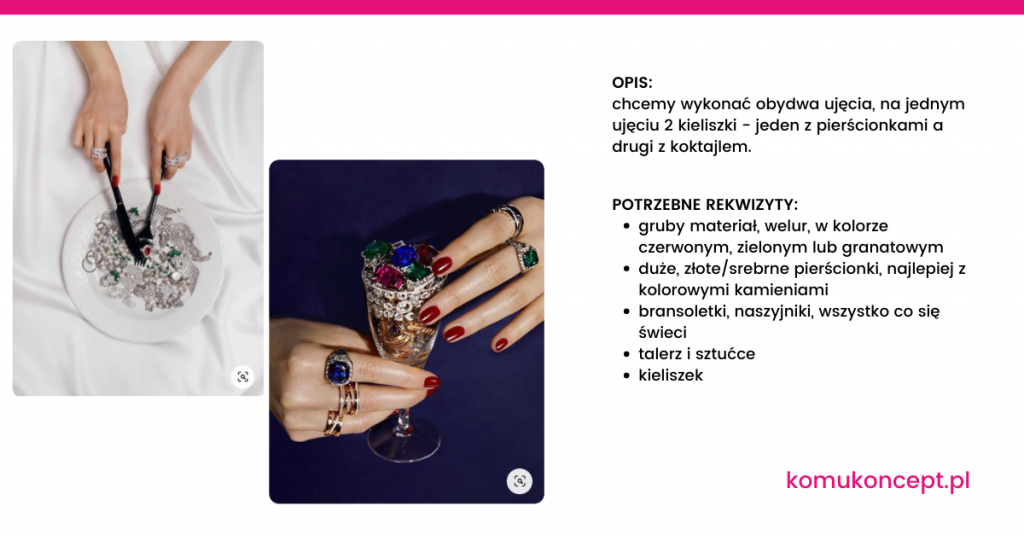
Go through your inspirations again and carefully select them to create separate frames that you want to achieve in your photos. You can put together several inspirations that will ultimately create a completely new image – for example, props from one photo, a shot from another, lighting from a third inspiration. To make it easier for you to coordinate later and for the photographer, put them together in a presentation, write down your notes and list the props that you will need for each shot. Using a presentation works great – it can be easily sent to the photographer, and it will also be useful during the session itself.
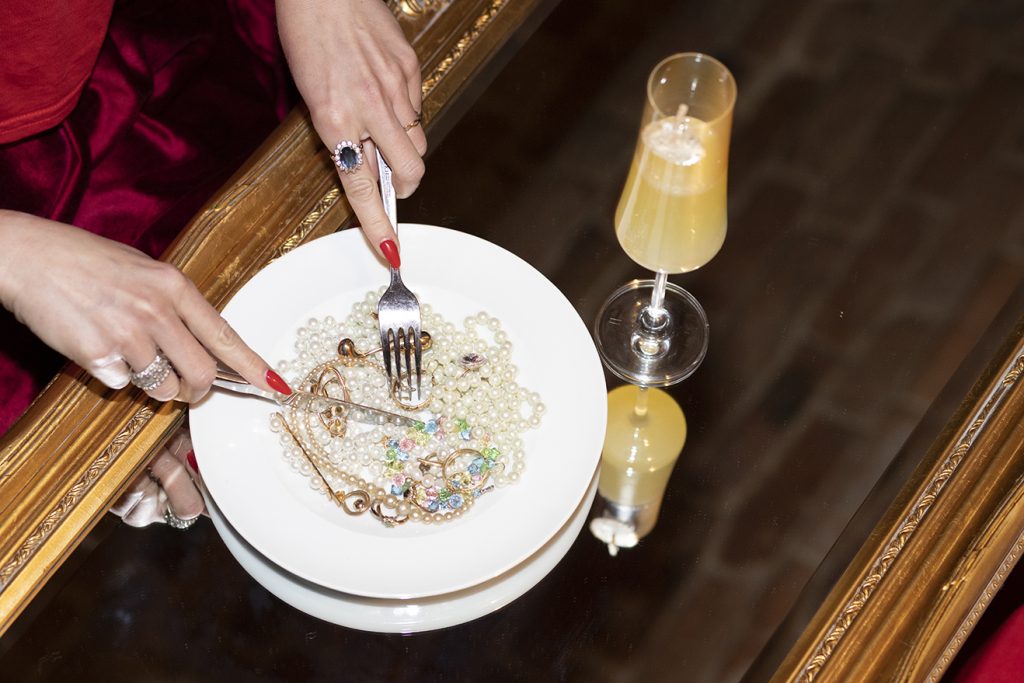
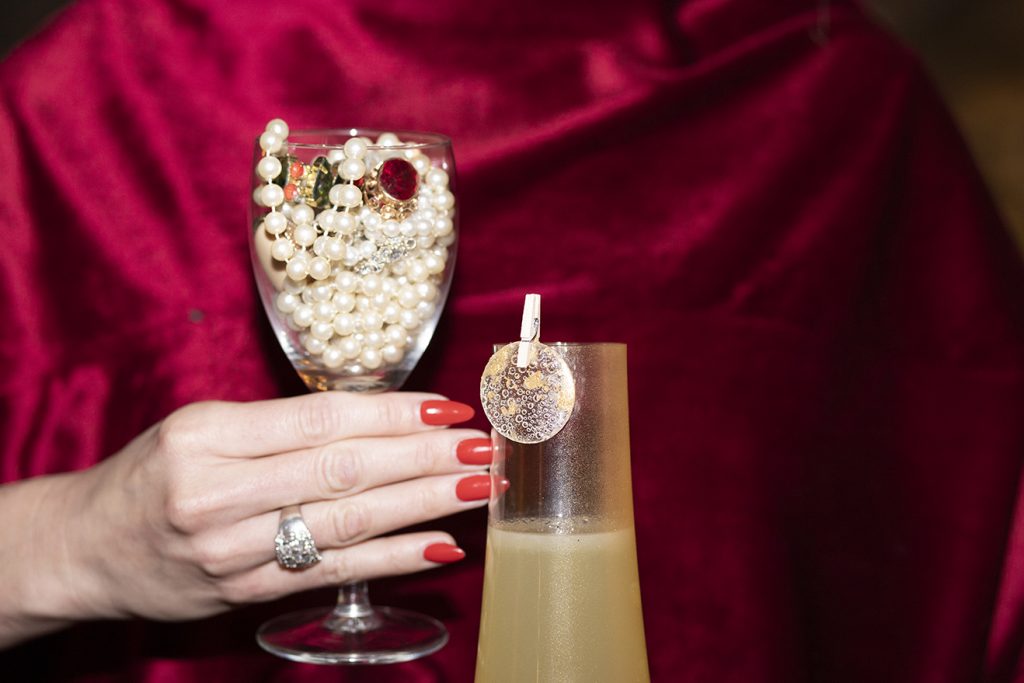
In the photo below you can see how we planned one of the frames of the session we coordinated. On one side there are inspirations, on the other a description of what we want to get from a given inspiration and the necessary props. Below you can see what the final effect we achieved looks like :)


Collect props
Sure, there are minimalist sessions where you only need a piece of background, but usually for this type of event you really need a lot of elements! It's a good idea to list props at the stage of planning the shots. It's worth collecting them in a table, which will make it easier to pack for the session, but it will also serve as a list of necessary purchases.
At the session itself
Planned shots? Packed props? Time to get going! Remember that communication is key – it’s a good idea to meet with the photographer beforehand, show them the shots, and discuss them together. The success of the session depends on both of you!
Make sure that the entire team that will be working on the session is properly prepared. Prepare descriptions of shots along with props (a presentation that you created earlier can be used for this) and deliver them to everyone. Remember also about the paper version - technology sometimes fails.
During a photo session, our biggest enemy is rushing. To avoid running out of time, stick to the plan and take frames one after another. Try to arrange them so that there is enough time to prepare the next set design. It is worth blocking several similar shots or with similar props so that you do not prepare the same one twice.
***
Now you are properly prepared to coordinate the photo session! Although such situations can be stressful, a proper plan will allow you to go smoothly through this event. Later, only the most enjoyable thing will remain - admiring the photographic effects. Good luck!
- Written by: Antonina Grabiec
- Posted on: 5 Sep 2022
- Tags: photography, coordination, photo session coordination, photoshoot

